Procusini 5.0

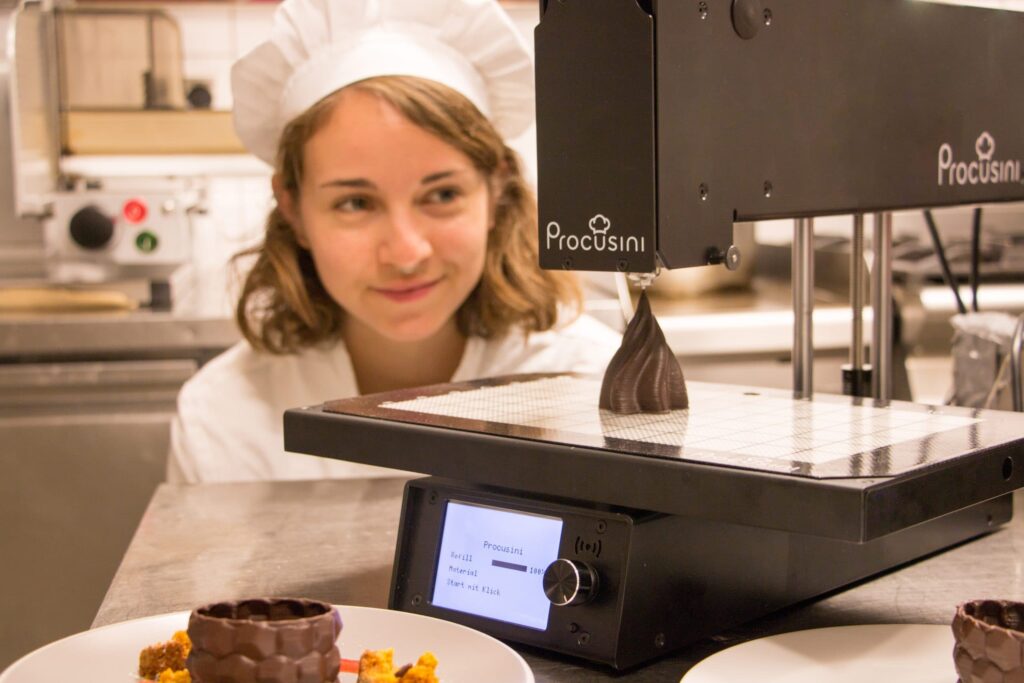
Απλή λειτουργία μέσω ενσωματωμένης οθόνης 3,5 ιντσών.
Αυτόματη βαθμονόμηση
Δεν απαιτείται χειροκίνητη βαθμονόμηση.
Επιφάνεια
Περιοχή παραγωγής 25 x 15 cm. Ύψος παραγωγής ανάλογα με το φαγητό, έως 10 εκατοστά. Διαιρώντας, μπορούν να παραχθούν αντικείμενα οποιουδήποτε μεγέθους.
Συνδεσιμότητα
Απλή και γρήγορη μεταφορά δεδομένων από το Procusini® Club στο Procusini® μέσω κάρτας sd.
Σύνδεση τροφοδοσίας
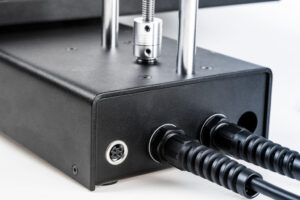
12 V. Λειτουργία με εξωτερική μονάδα τροφοδοσίας (περιλαμβάνεται στο πεδίο παράδοσης). Δεν απαιτείται βαρύ ρεύμα!
Κατανάλωση ενέργειας
Χαμηλή κατανάλωση ενέργειας <60 W σε κανονική λειτουργία.
Εύκολος καθαρισμός
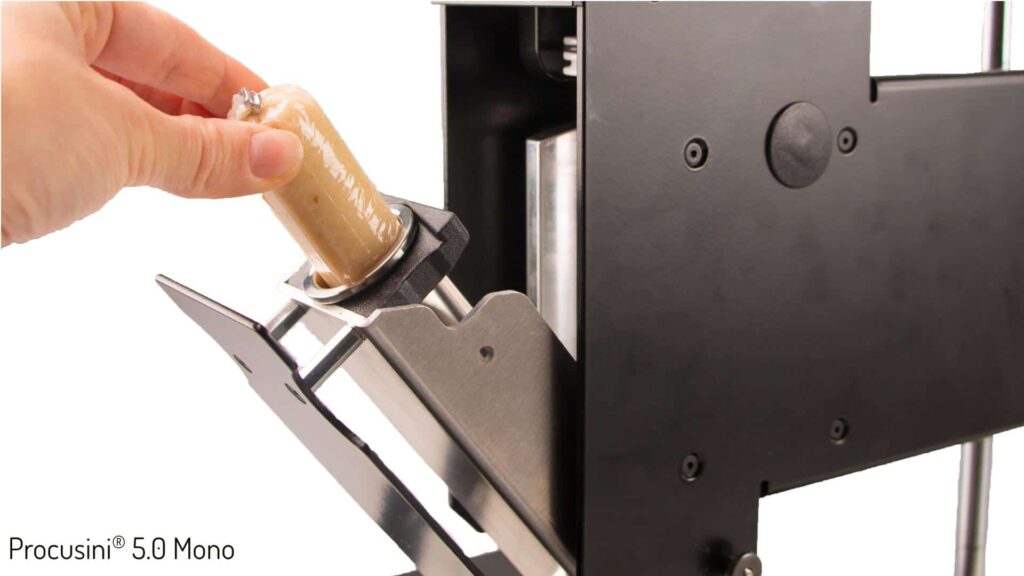
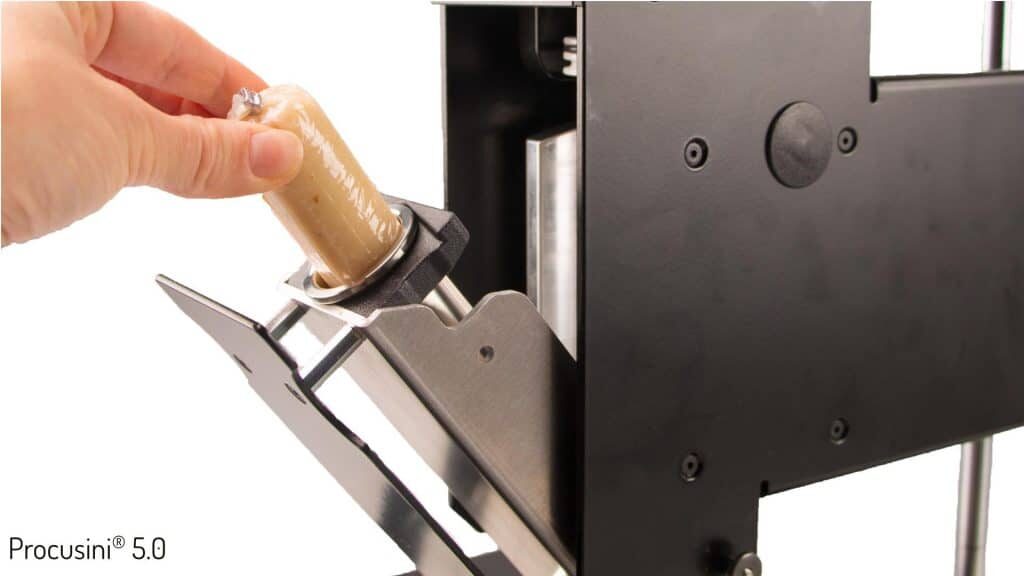
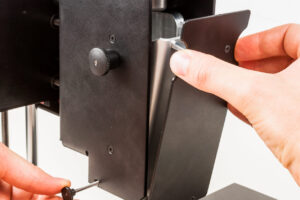
Η θήκη των κασετών αφαιρείται χωρίς εργαλεία.
Εξωτερικές διαστάσεις
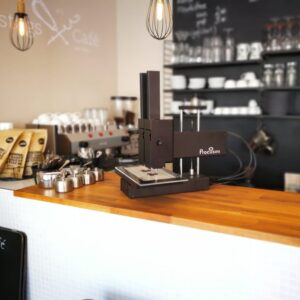
Συμπαγείς διαστάσεις κατά τη λειτουργία: 60 x 60 x 65 cm (Π x Υ x Β).
Θερμαινόμενο
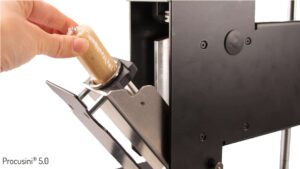
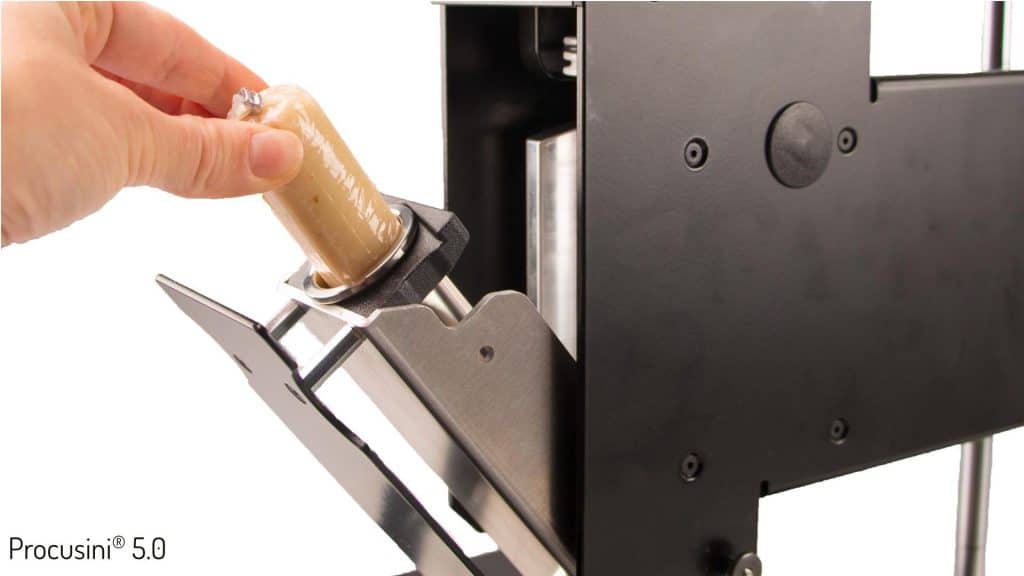
Θερμαινόμενη θήκη φυσιγγίων με βέλτιστο έλεγχο θερμοκρασίας, προσαρμοσμένη στα συμπληρώματα τροφίμων Procusini.
Το φυσίγγιο θερμαίνεται στους 60 ° C.
Κινητό
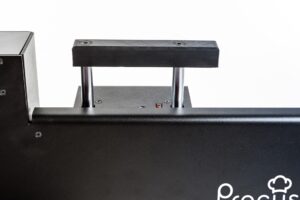
Εύκολη αλλαγή θέσης λόγω λαβής μεταφοράς και χαμηλού βάρους 9 κιλών.
Ευέλικτη βάση παραγωγής
Για εύκολη αφαίρεση εκτυπωμένων αντικειμένων.
Ανοξείδωτο φυσίγγιο
Ιδανική μεταφορά θερμότητας, θερμαινόμενη έως 60 ° C, με διαφορετικές διαμέτρους









Η παραγωγή ενός αντικειμένου με το τρισδιάστατο σύστημα εκτύπωσης τροφίμων Procusini® 5.0 είναι πραγματικά απλή. Λαμβάνετε την πρώτη εκτύπωση εντός 15 λεπτών μετά την αποσυσκευασία της συσκευής.
ΒΗΜΑ 1: Ενεργοποιήστε το Procusini® 5.0.
ΒΗΜΑ 2: Επιλέξτε το επιθυμητό φαγητό και το αντικείμενο 3D.
ΒΗΜΑ 3: Έναρξη.
Ανάλογα με το επιλεγμένο φαγητό, προθερμαίνεται στη σωστή θερμοκρασία πριν από την εκτύπωση, π.χ. Procusini® 3D Choco.
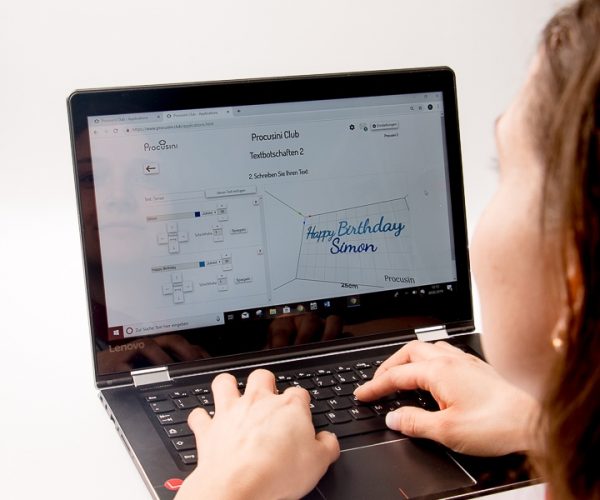
Μπορείτε να επικοινωνήσετε με το Procusini® Club ως εγγεγραμμένος πελάτης μέσω του προγράμματος περιήγησής σας. Εκεί θα βρείτε τις διαφορετικές εφαρμογές με τις οποίες μπορείτε εύκολα να δημιουργήσετε τρισδιάστατα αντικείμενα.
Απλώς επιλέξτε το επιθυμητό αντικείμενο (π.χ. 3D πρότυπο από τη βιβλιοθήκη) ή δημιουργήστε το (π.χ. με το πρόγραμμα επεξεργασίας κειμένου στο Procusini Club), ορίστε το μέγεθος και επιλέξτε φαγητό.
Στο τελευταίο βήμα λαμβάνετε το αυτόματα δημιουργημένο αρχείο. Τώρα το μόνο που έχετε να κάνετε είναι να ανεβάσετε αυτό το αρχείο στη διεπαφή χρήστη του Procusini® 5.0.
Μπορείτε να χειριστείτε το Procusini® με ελάχιστη προσπάθεια καθαρισμού. Μόνο τα εξαρτήματα από ανοξείδωτο ατσάλι, το άκρο και η σφραγίδα έρχονται σε επαφή με το φαγητό. Αυτά τα εξαρτήματα μπορούν εύκολα να αφαιρεθούν και να καθαριστούν στο πλυντήριο πιάτων, εάν είναι απαραίτητο.

