Introducing Cura 2.7
Below you can find selected highlights of improvements and bug fixes:
Improved functionality
Print surface quality improvements
Top surface skin. You can now specify separate settings of the top-most layers of a print. Change the top surface density and specify a different layer pattern (lines, concentric or zigzag). Using a different pattern on the top surface achieves a higher quality finish.

As can be seen here, the top-most layers follow a different pattern compared to the other layers beneath.
Ironing (a.k.a. Neosanding). This function pushes the heated nozzle over printed top layers with reduced extrusion to fill in any gaps in the top surface for extra-smooth top surfaces. It can be found under the “experimental” section.


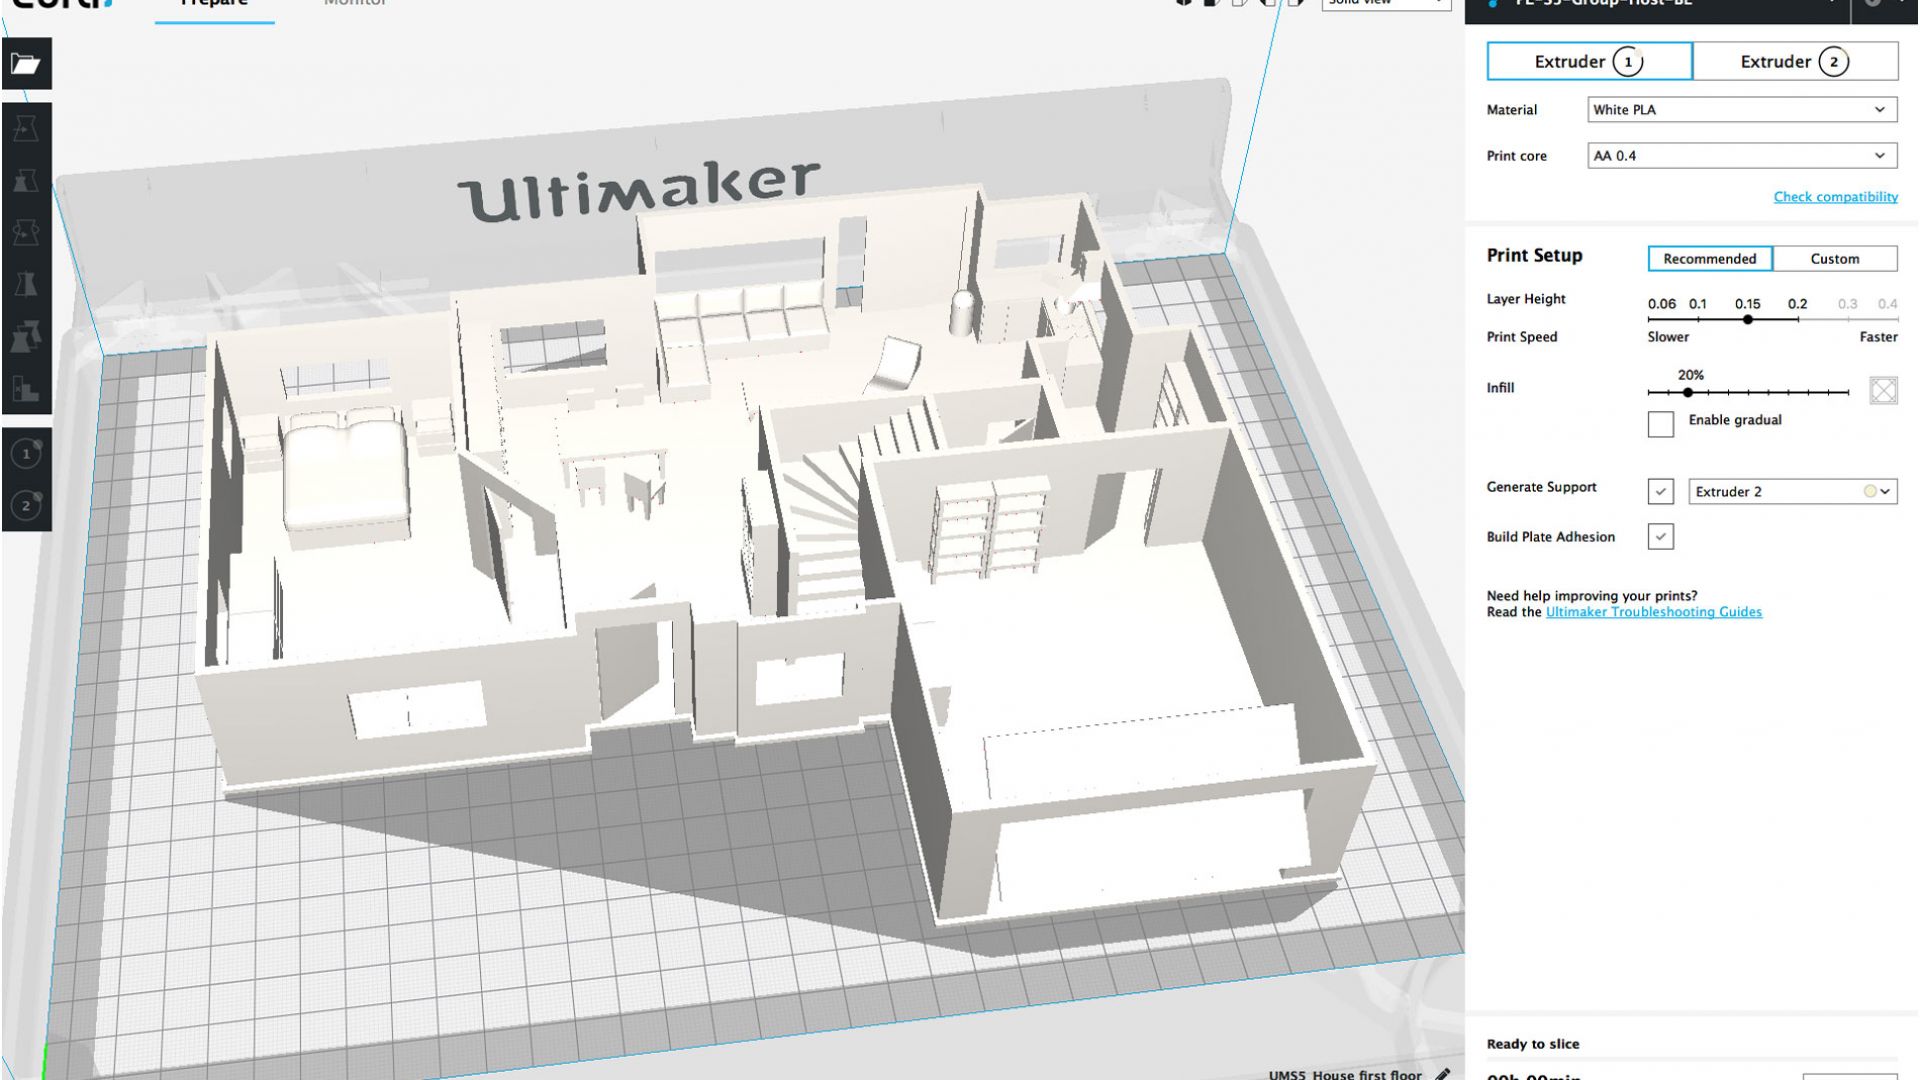
Relative Z seam. A new option is included to position the Z seam coordinates relative to each model’s center, so that the they will stay at the same location on each layer, no matter what the position of the object is. This makes removing it during post-processing far easier. In Cura, the parameters of this can be changed under “Shell” options. Below is an example:

Print thin walls. Print walls that are up to two times thinner than the nozzle size. See below for an example:

Support and control improvements
Cura 2.7 introduces two new features in the default profiles: Support infill layer thickness and Gradual infill. These aim to improve print duration (saving on average 20 – 30%) and reduce PVA consumption (using on average 30 – 40% less PVA). Using less PVA support material means faster dissolving time and reduced material costs.
Support infill layer thickness. Use this feature to fine tune the height-per-layer of support infill material.
Print materials such as PVA at double the normal layer height to save time, e.g. for a print with a 0.15 mm layer height, PVA can be printed with a layer height of 0.3 mm for the majority of the support infill.

Gradual support infill. Supports will print with gradually increasing density near the top and at interfaces. This is especially useful when printing with more expensive materials such as PVA, as higher density infill supporting a model’s interfaces means faster print and dissolving times. Gradual support infill is now the default option for support material.


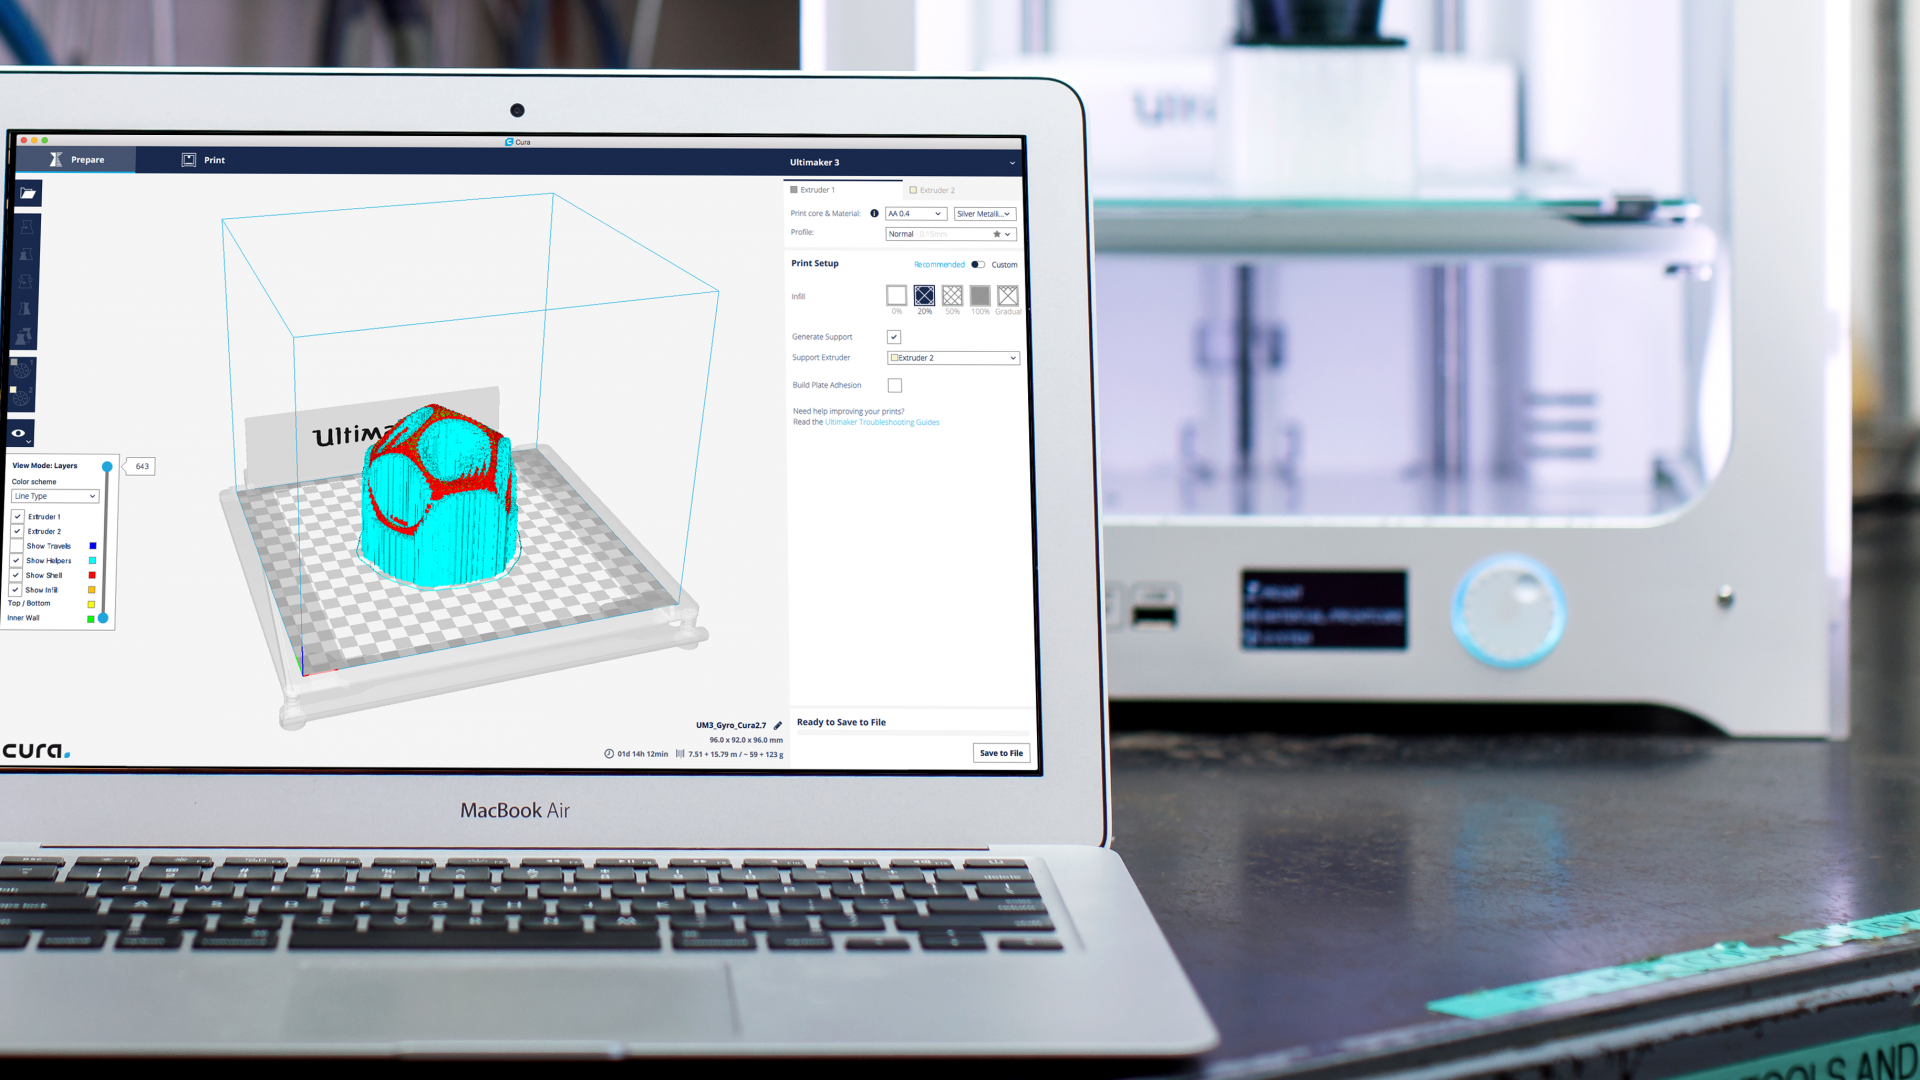
Case study: Gradual support and support infill layer thickness

The Gyro is made up of nested moving parts and has a very complex geometry, so printing with supports is essential. Supports printed in PLA will be problematic to remove and will fuse the moving parts in place, so using PVA is preferable, as it can be easily removed by dissolving.
However, using PVA supports adds considerable time to a print, especially if using the “Extra fine” profile.
Under Cura 2.6.2, this print can take up to three days (not including dissolving time) and will use a significant amount of support material.
Cura 2.6.2
- Extruder 1: 20% infill PLA (default settings)
- Extruder 2: PVA (default settings)
- Normal profile (0.15 mm) (default settings)
Cura 2.7
- Extruder 1: 20% infill PLA (default settings)
- Extruder 2: Gradual infill PVA (default settings) (Support infill layer thickness 0.3 mm)
- Normal profile (0.15 mm) (default settings)
In this example, the object was sliced using normal quality profiles with a 0.4 mm nozzle and 0.15 mm layer height.
In Cura 2.7 it was sliced with gradual infill, with a support infill layer thickness of 0.3 mm

The majority of the support infill will be printed at 12.5% PVA infill, going in two steps to 25% and 50% density near the PVA interface. The PVA interface itself is thinner (0.6 mm instead of 0.8 mm), since it has more support underneath.
Between Cura 2.6.2 and Cura 2.7, the consumption of PVA changed from 182g to 123g, which represents a material saving of approximately 40%. If 1g of PVA material costs 0.11 Euros, this has saved 6,49 Euros.
Between versions, the print duration went from 2 days, 4 hours, 20 minutes to 1 day, 14 hours, 12 minutes.
This represents 14 hours, 8 minutes time saved – a 30% improvement.
In addition to the print time and material saved, using fewer PVA supports means that dissolving time will also be reduced.
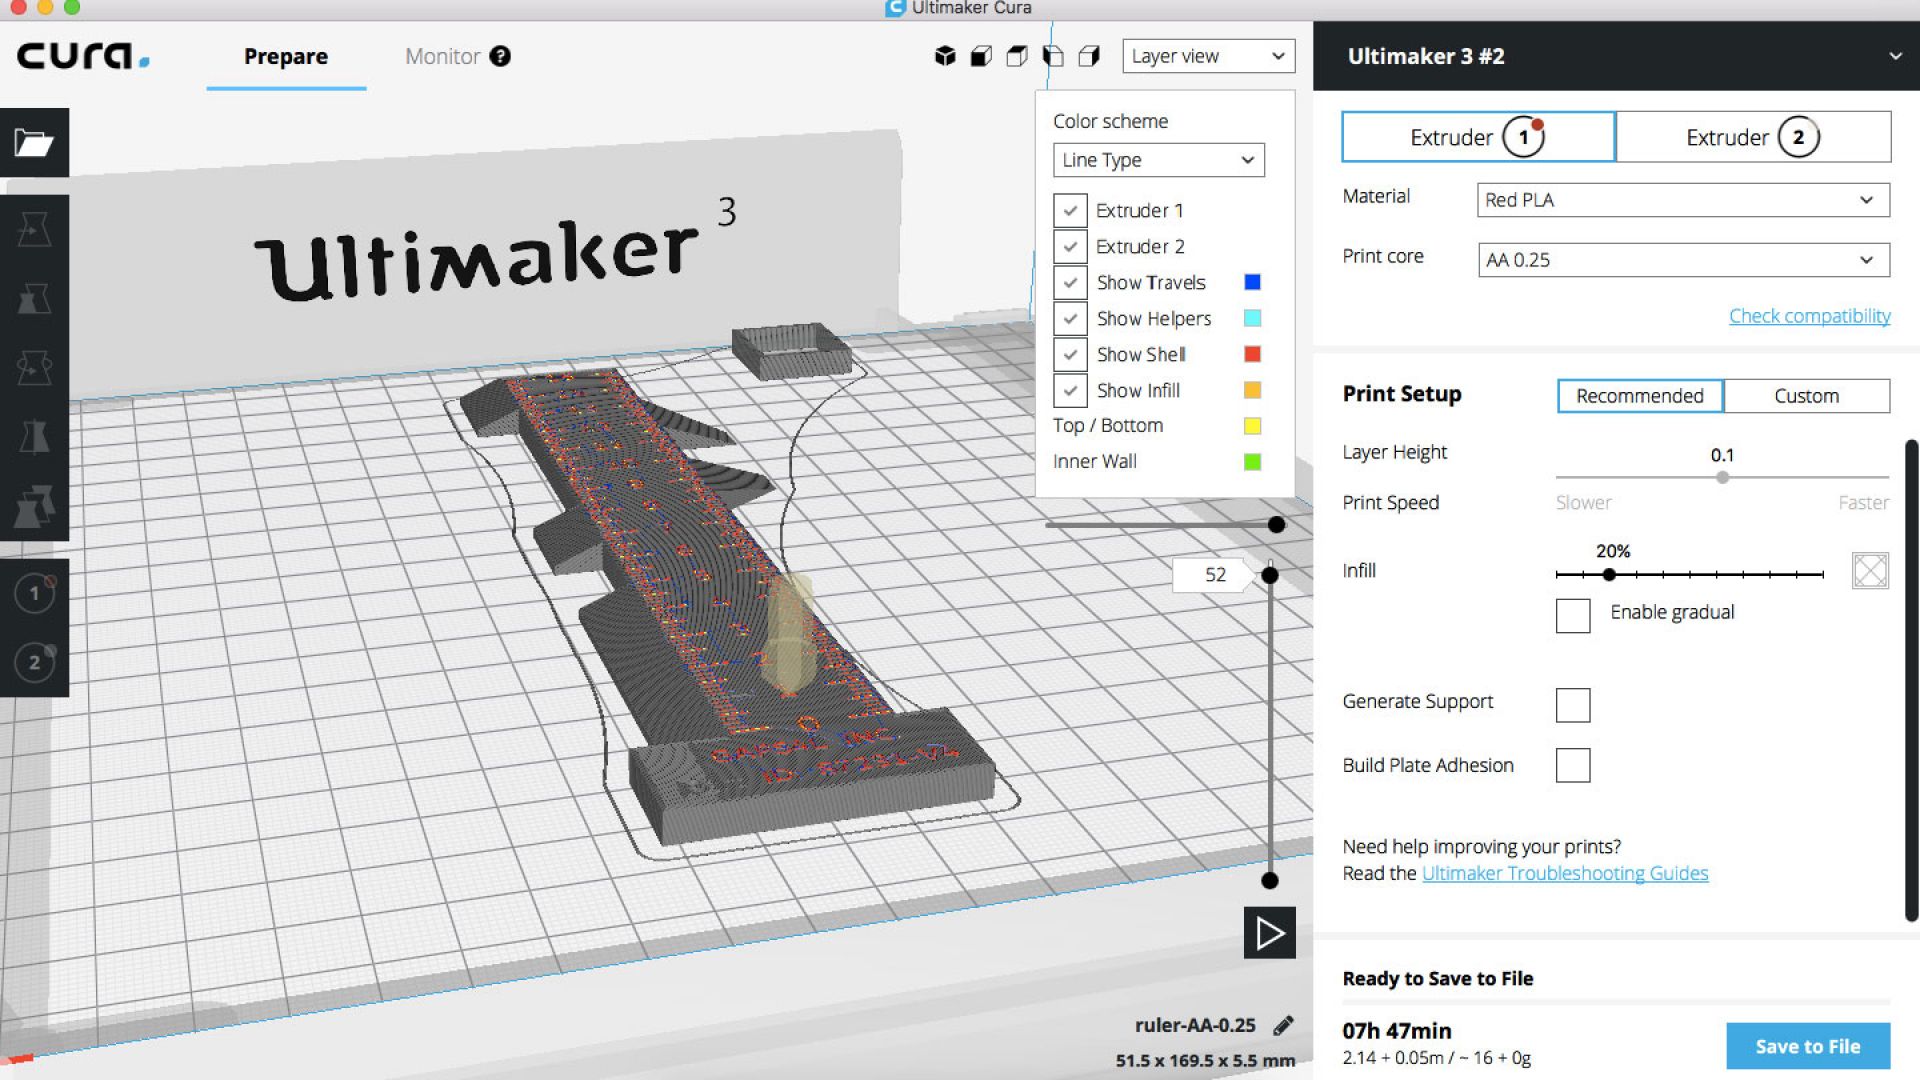
Prime tower purge volume. Fine-tune the amount of filament purged when wiping on the prime tower. Purging is useful for compensating the filament lost by oozing during the inactivity of the nozzle. This also reduces the likelihood of a prime tower failing mid-print by preventing under extrusion. The amount of material to purge can be specified in the “Prime Tower Purge Volume” setting under “Dual extrusion”.


Set horizontal expansion on initial layer. Adds functionality to change horizontal expansion on the initial layer to compensate for the “elephant’s foot” effect. This parameter can be changed under “Shell” options in “Print settings”.

First layer line width. A multiplier setting for the line width of the first layer of a print. Multiplying line width gives fewer lines but with greater line width, which improves build plate adhesion.
Pause standby and resume temperature. Turn off the nozzle when printing with extended pauses to prevent burned filament and nozzle clogging. At the end of a pause, the nozzle will reach printing temperature before resuming a print.
Extruder per feature. Assign print features (walls, infill, skin, etc.) to a specific extruder. Below are some examples:


UI improvements
Dark theme. A dark theme for Cura. Ideal to reduce eyestrain when working in dark environments. Activate it by selecting “Preferences > Themes > Dark”.

Top navigation bar redesign. The top bar user interface been improved so that “Prepare” and “Print” have moved from the right side of the interface to the left side. The left side is used to select a printer. This gives the workflow a natural flow from left to right.
New keyboard shortcuts. You can now manipulate your model on the build plate using hotkeys Q, A, Z, W, and tab keys. Q selects “move”, A selects “scale”, Z selects “rotate”, W selects “mirror”. Use the tab key to navigate between interfaces.
Plugin browser. Managing third-party plugins is now easier than ever. Download and install them using the new integrated plugin browser. Go to “Extensions > Plugin Browser > Browse plugins” to select it. All available plugins are included in one place. Simply select “Install plugin” to install a plugin of your choice, restart Cura and it will be integrated.
Plugins are installed on a remote server, so you will not need to reinstall them each time you install Cura on your computer. When an update is available for a plugin, it will be pushed to the manager where you have the choice to update it.
Note: It is still possible to install custom plugins using the same method from previous versions of Cura.
Import SOLIDWORKS files as STL. This plugin enables SOLIDWORKS format files to be directly imported into Cura, where they are automatically converted to .STL format. This plugin can be found in the new plugin browser.
Zoom towards mouse cursor position. Taking inspiration from industry standard CAD software, Cura preferences now include an option to zoom towards the cursor position.
Increased scroll speed in setting lists. The scroll speed in the setting lists is now three times faster than previous versions for an improved user experience.
Theme inheritance. Themes no longer have to be complete when they are added; they can simply inherit features from a default theme.
Extra tooltips. Extra tooltips have been added to clarify machine settings and functions.
New language support. Translations have been added for Polish and Simplified Chinese. These can be selected in the preferences menu under “Language”.
New third-party printer support
Cura 2.7 has added support for several third-party 3D printers:
Peopoly Moai, DiscoEasy200, Cartesio, EasyArt Ares, 3Dator, Rigid3D, Type A Series 1, and HelloBEEPrusa.
Bug fixes
We’ve been hard at work addressing several bug fixes, including Cura project Mac extensions, crashes when adding printers, crashes on startup, errors calculating jerk fixes, and z-hop over-extrusion issues.
A special thanks to the following contributors: Tsaaristo, Rudowinger, nallath, smartavionics, BagelOrb, fieldOfView, maukcc, nliaudat, moritzmair, landru29, marcosfg, Rigid3D, 14bitVoid, PCDotFan, “Jaguś” Paweł Jagusiak, Andrzej “anraf1001” Rafalski, Ghostkeeper, and Neotko.
It’s time to print!
Are you ready to print? Download Cura 2.7 today!
We are always open to suggestions, so tell us what you think about the improvements, and don’t forget to let us know if you can think of any new features you would like to see.