Color Your Processed Prints With Hydro Dipping
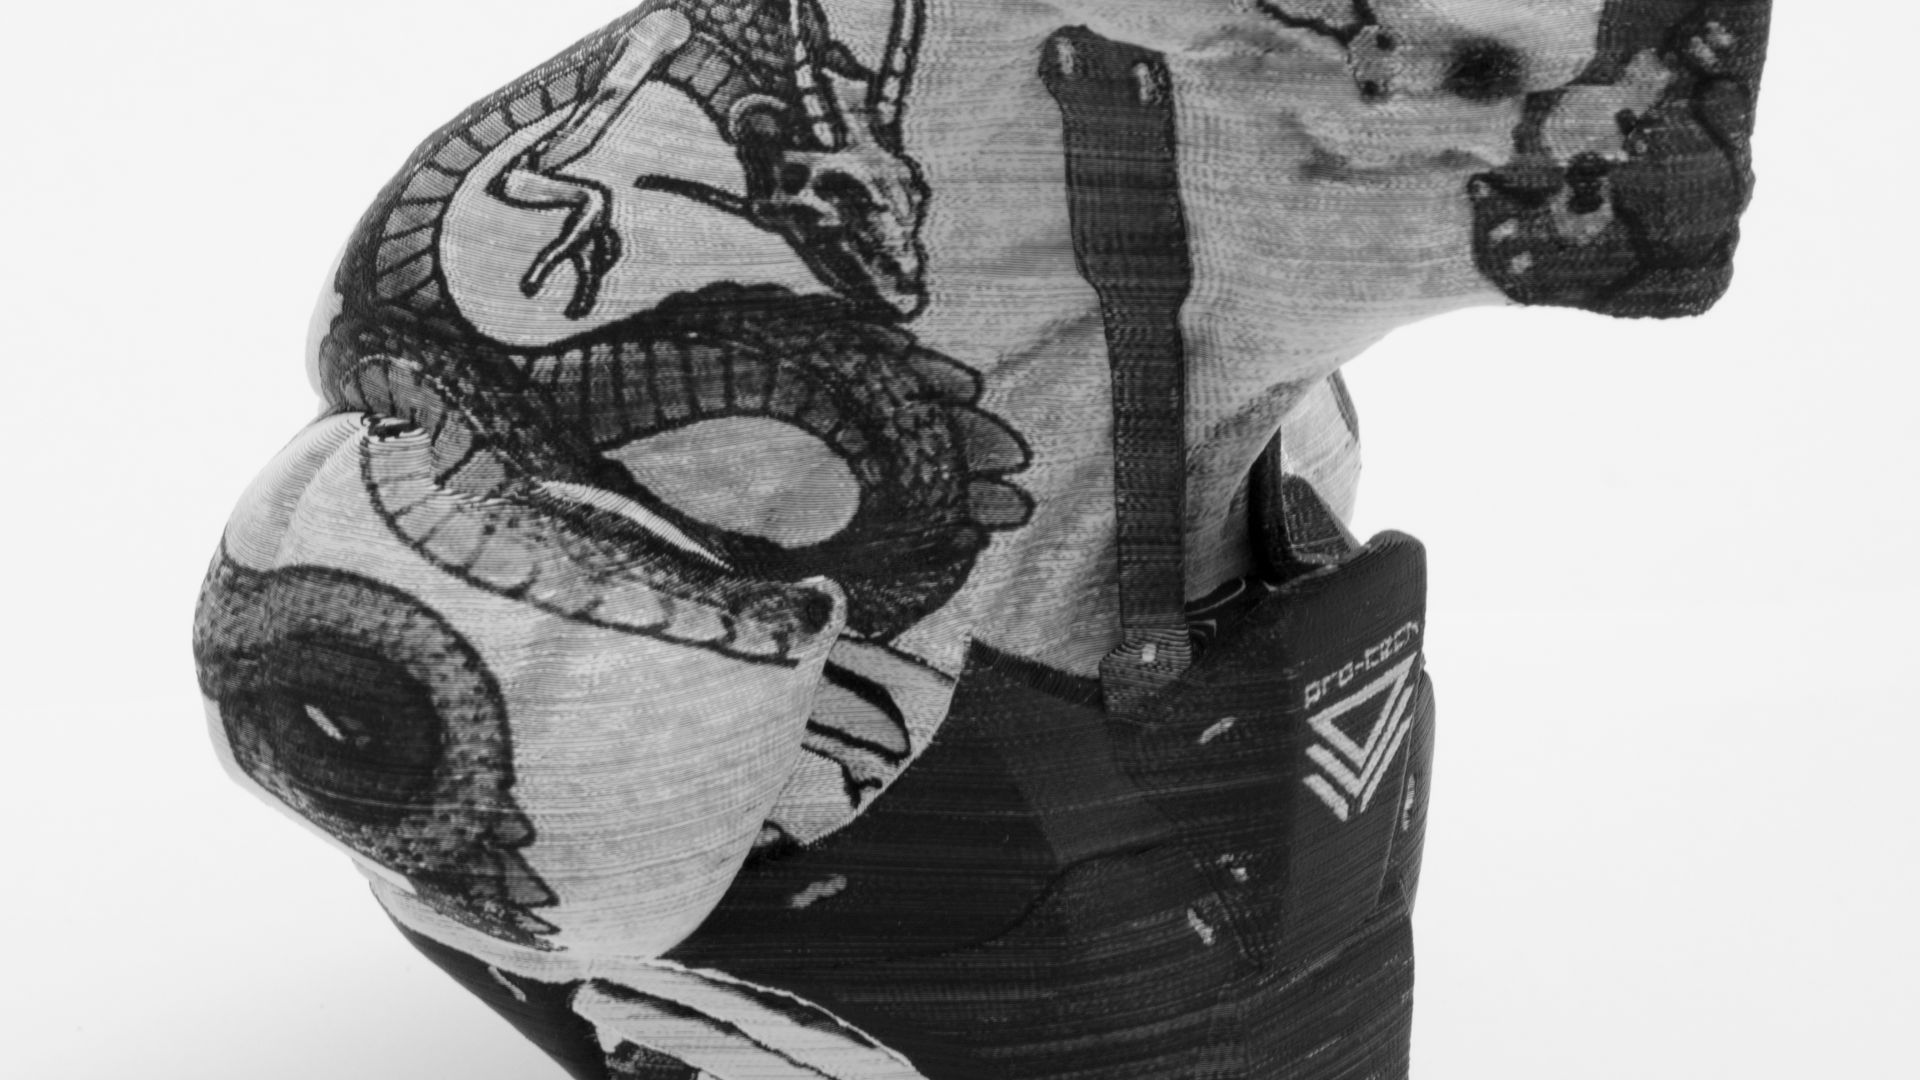
Color adds a new dimension to the communication of 3D printers. Concepts that before could only be represented by geometries, can now be created in a way that is visually closer to the way the object would be created in real life.
Unfortunately not everyone has access to multiple extruders on their printers, resigning us to make do with monochrome prints. Luckily various methods such as hydro dipping are available for improving prints. Color can be a major issue if your primary focus is on artistic merit. Similarly, perhaps you like to print in single color and then add paint to the finished products (especially useful if you want to produce a range of different colors for different units of the same model).
That’s where hydro dipping comes in.
What is Hydro-dipping?
Hydro Dipping is a method of coloring various objects that can imprint complex colors and patterns onto their surface. Whereas most dipping methods that involve coloring will add only simpler patterns or single colors, hydro dipping enables quick and easy multi-shade patterns with dynamic aesthetics.
Coloring prints using this method involves (at minimum) getting a hydrographic film, some activator, a heated container and some finish. The process mainly involves setting up the film to be dissolvable and then submerging the item to color it. One disadvantage of hydro dipping is that it generally does one side at a time and thus may require re-dipping.
It is a home-friendly method and also very safe. All items can easily be obtained via the internet, hardware and hobby shops. It is also worth noting that while the dipping process is quite easy, setting up the apparatus can be complex.
Making a Hydro Dipped Print
Necessary items
Item requirements include:
- Primer
- Hydrographic film
- Base Coat
- Painter’s Tape
- Container (typically, acrylic or thick plastic box)
- Water heating device
- Activator
- High gloss finish
- Gloves
Method
Start off by scrubbing and cleaning the object you want to hydro dip. While there are no guidelines for what to use, it’s important to take off any grease. This allows for a smoother primer application process. Apply tape to any areas of the item you want to keep paint free. Also, remember to wear gloves.
Then, apply primer to the object. Do this using successive coats on the areas that you want to coat. Similarly, apply the base coats lightly. Too much coating will cause runs and spillage into the desired design. The base coat will serve as the background to most of the design, so choose the color wisely.
As the coat dries, fill the container with water and heat it up to about 70°-80°F. This is the ideal temperature for hydro dipping. This is the best time to use more tape to create some borders on both the film and the area of the water you will dip prints into. The borders will help keep the film in place and prevents drifting as it expands in the water.
Then, shake up the activator can to get it ready. Some cans have a secondary tab at the bottom that readies it. Now you need to find which side of the film goes on the water surface. If you wet your fingers and touch the film, you’ll notice one side dissolves. The side that gets erased should be on top. It’s important to hold the film by the corners as you put it on the water surface. Put the hydro film in the water and let it float. Keep the corners up as the middle touches the water and slowly lower the sides. Make sure to reduce the bubbles and wrinkles for an optimal finish.
Let the film soak for a bit and retain some water (typically about 60 seconds). Apply the activator in light strokes. The film will start to expand and after 15 seconds you will be ready to dip the object. While dipping, push the object down at a 30 – 45 degree angle and swirl it just a bit. Quickly lift the object and check your color coat.
To finish up the process, apply (medium to hot) water to take off the adhesive residue. Try this until all the shiny residue bits are gone. Finally, you can apply the high gloss finish and consider the print recolored.
Source: 3dprinting.com